


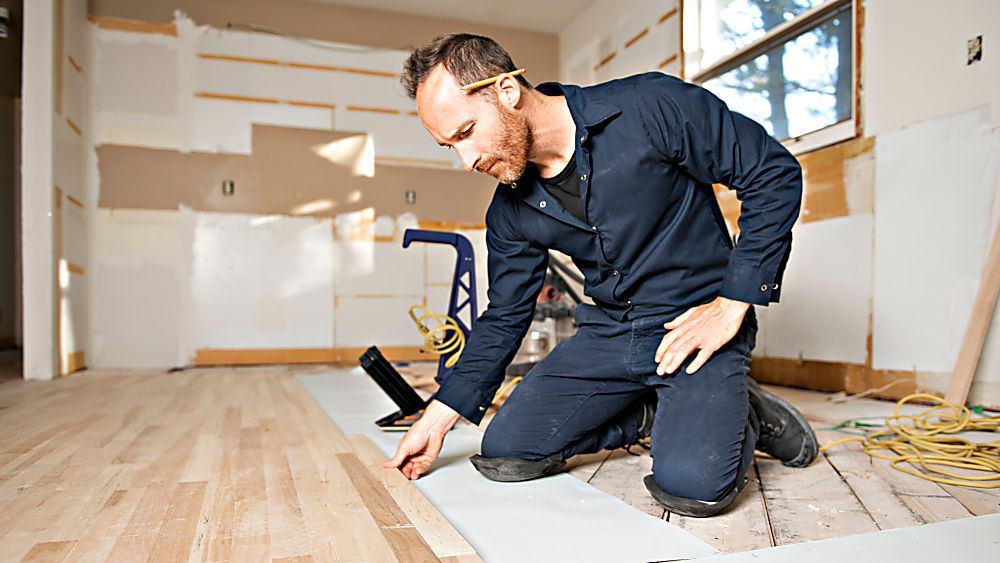
Living in Cedar Grove, WI, and surrounding lakeside communities like Sheboygan, Port Washington, and Grafton brings distinct seasonal changes that directly impact the indoor environment of local homes. Severe winter freezes and humid summer spells create shifting moisture levels, particularly for concrete slabs in basements, ground-level living areas, and three-season spaces. Concrete naturally absorbs and releases humidity from the surrounding soil across Sheboygan County and Ozaukee County. When installing laminate flooring over a concrete foundation, dynamic environmental conditions demand proper preparation below the surface so your new floors remain smooth, quiet, and beautiful for years to come.
Why subfloor preparation matters for concrete slabs
Concrete subfloors can look solid and flat to the naked eye, but subtle imperfections present major challenges during floating floor installations. Unaddressed cracks, residual moisture, or uneven dips can compromise plank locking systems, create hollow squeaking sounds underfoot, or allow moisture to compromise your flooring. Completing meticulous preparation creates a secure, level substrate that protects your investment and elevates the warmth and comfort of your home.
The essential subfloor preparation checklist
Following a thorough preparation routine ensures a smooth, worry-free installation process. Use this checklist to verify your concrete slab is fully prepared before unboxing your planks.
1. Perform a thorough moisture test
Concrete is inherently porous, allowing ground moisture to vaporize upward. Evaluating relative humidity levels using a digital moisture meter or calcium chloride test kit is a mandatory first step. High moisture readings require appropriate vapor retarding barriers or remedial sealing to avoid future plank distortion or seam damage.
2. Clean and clear the concrete surface
Thoroughly sweep and shop-vac the entire concrete area to remove dust, drywall residue, and fine grit. Even tiny debris trapped under padding creates irritating grinding sounds when walked on and generates localized stress points under plank joints. If replacing old floors, arrange complete carpet disposal and adhesive stripping before proceeding.
3. Inspect and address subfloor repair
Carefully inspect the slab for cracks, spalling, or pitted areas. Patch small fractures with high-grade polymer-modified concrete filler to stop crack propagation. For significant structural surface damage, scheduling professional subfloor repair ensures your subfloor provides a structurally sound base for new floating planks.
4. Check floor flatness and level high spots
Lay a 10-foot straightedge across the slab to check for height variances. Standard manufacturer specs state that variations must not exceed 3/16 inch across a 10-foot radius. Grind down raised ridges and fill low pockets with a high-strength self-leveling compound to secure joint connections and eliminate unwanted flex.
5. Lay vapor barrier and moisture-resistant underlayment
Concrete installations require a dedicated 6-mil polyethylene vapor barrier overlapped at the seams and taped securely. Combine this with acoustic foam underlayment to cushion steps, dampen sound transmission, and block ambient chill from cold concrete. Even if planks feature pre-attached padding, a continuous plastic vapor barrier remains essential over concrete.
6. Acclimate your laminate planks properly
Stack unopened laminate packages flat in the installation room for a minimum of 48 hours prior to installation. Proper acclimation allows the composite core to balance with home humidity and temperature, mitigating post-installation expansion or buckling.
Creating a complete living space
Preparing your subfloor carefully guarantees your finished rooms look stunning and perform reliably. Pair your fresh laminate surfaces with comfortable living room arrangements by updating your furniture upholstery, cozy seating, statement lamps, and accent decor accessories. For spaces with direct exterior access, high foot traffic, or humidity, exploring alternative solutions like waterproof flooring or resilient luxury vinyl ensures maximum moisture protection everywhere in your home.
As your local flooring experts, Claerbout Furniture & Flooring brings decades of experience helping homeowners throughout Plymouth, Saukville, Belgium, Fredonia, Oostburg, and Random Lake bring their room design dreams to life. You can visit our Main Street showroom or utilize our convenient shop at home service for personalized guidance in the comfort of your living space.
Frequently asked questions about subfloor prep over concrete
Why is a vapor barrier mandatory over concrete subfloors?
Concrete slabs continuously release micro-moisture vapors. A 6-mil polyethylene vapor barrier creates a moisture-proof seal that prevents water vapor from absorbing into wood fiber cores, preventing swelling, joint separation, and board warping.
Can underlayment fix an uneven concrete slab?
Underlayment provides minor cushioning and sound dampening, but it cannot bridge major dips or level high spots. Dips deeper than 3/16 inch over 10 feet must be filled with a self-leveling patch to protect plank click-lock mechanisms from snapping under pressure.
How do I schedule an in-home evaluation for subfloor preparation?
Our knowledgeable team is ready to examine your concrete slab, take precise measurements, and provide expert recommendations tailored to your space. Contact us directly to schedule your free in-home estimates and start your flooring transformation with Claerbout Furniture & Flooring.


